
 The elements of texture and form, shape and garden occupy my thoughts more and more as I add plants and the garden matures. I really like the textures of plants in the shade bed, but the main bed along my patio is starting to look a bit messy. I’m not sure if it’s because the dwarf blue spruce is so slow to grow unlike the grasses, which are getting very big and therefore the balance is off, or because there are so many spillers in the garden and that’s creating some visual chaos. Either way, I’m exploring the themes of texture, balance and color as I consider moving things around next year.
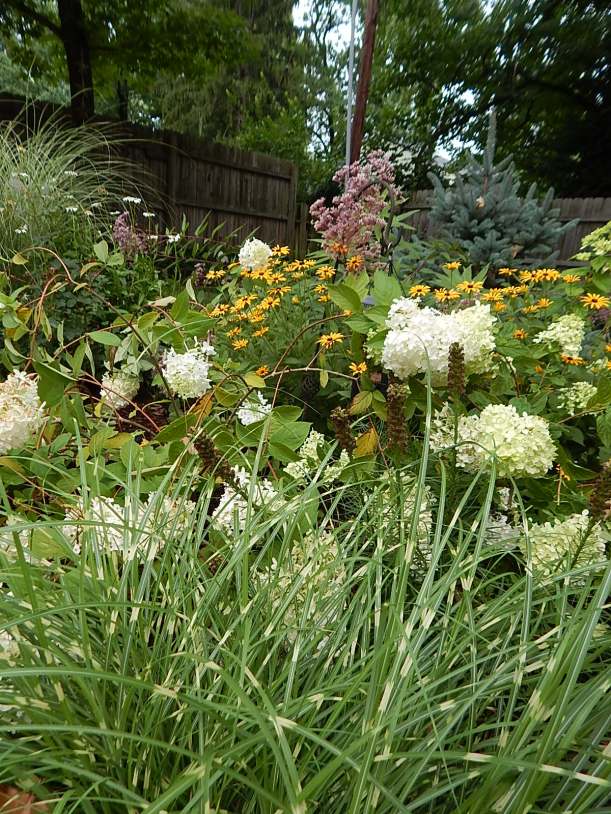 I never thought much about texture until I started gardening. Texture creates interest and interplay among plants. In the world of texture, contrast seems to be key, and there are a couple of ways to achieve texture in garden design.
- Placing plants with contrasting leaf shapes near each other.
- Placing plants with contrasting bloom shapes near each other.
Properly combine fine, medium and coarsely textured plants in the garden and you’ll get visual interest. Too much texture and you can end up with visual chaos. And there’s both tactile and visual textures to consider.Yikes. (When I initially started planning my gardens, this overwhelmed me, not to mention other considerations of size, shape and color.) Most plants have medium texture. I typically use coarse and fine textured plants as a great way to achieve accents.Then I try and spice things up through complementary or contrasting colors of plants. The finely textured leaves from Russian sage (Perovskia atriplicifolia) complement the medium-textured leaves of rudbeckia. The bloom shapes from all three are small, medium and large. And the grayish-green Russian sage also provides a color contrast to the green of the other plants.
 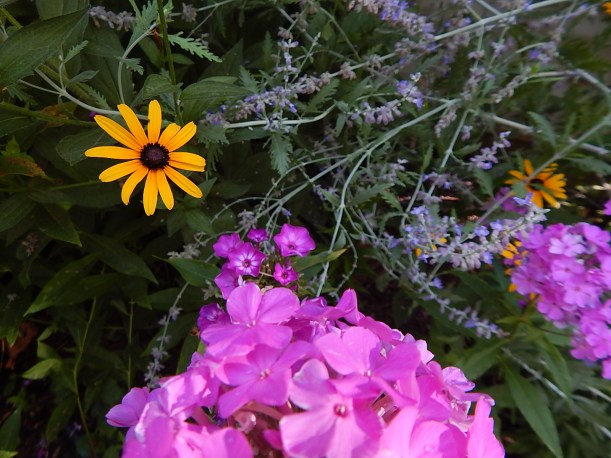 Proper texture pairings provide lots of interest and result in pleasing vignettes. This is not as simple as you might imagine. It’s probably one reason why gardeners move plants around year after year.
Balance combines with texture and creates unity. I like the balance in my shade bed, achieved by repeating astilbe, hosta, fern and Japanese forest grass (Hakonechloa) throughout its linear shape. The astilbe’s bottle brush-shaped bloom lends coarse texture in contrast to the smooth leaves of the Japanese forest grass. Visual interest if further achieved through contrasts in color and leaf shape.


In the combination below a trifecta of color, shape and texture unite to create a pleasing vignette at the Missouri Botanical Garden. The coarse brown center of the yellow rudbeckia and the soft, finely textured brown plume from an ornamental millet pair up, as do the daisy-like petal shape and the contrasting shape of the brown plume. And last but not least, brown and yellow make a complementing color contrast. 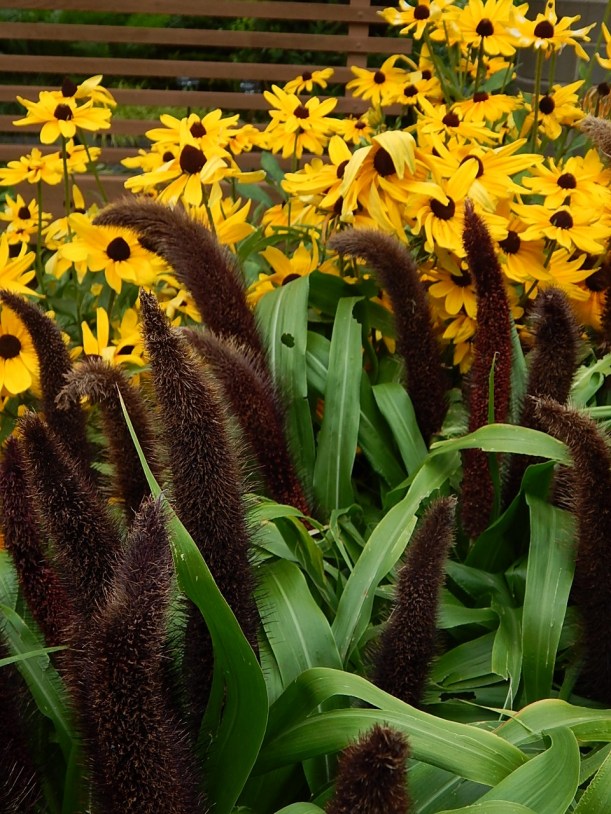 With so many varieties, succulents are a great way to add texture to a container. Soft rosette shapes combine with coarse texture, and the grayish hues of all the plants create color harmony in a succulent display at the Toronto Botanical Garden last summer. I love the fuzzy texture of the echeveria next to the crassula princess pine.
 How important is texture in your garden? And what plants are you incorporating for textural variety?
 There’s nothing more annoying than when the hose springs a leak. Of all the many things I want to spend my garden bucks on, hoses fall to the bottom of the list. The last thing I want to do is go buy a new one. Fortunately, they are easy and inexpensive to fix. Before you get started, know if you need a male or female connector. You don’t want to have to make more than one trip to the hardware store.
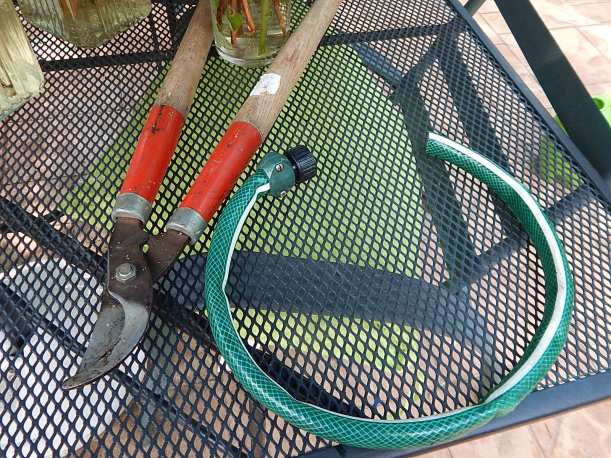 Step 1. Cut off the affected area. You can see that this hose has already been repaired once. In the spirit of recycling, I reused it when the hose sprung another leak. I use my lopers to easily cut through the hose.
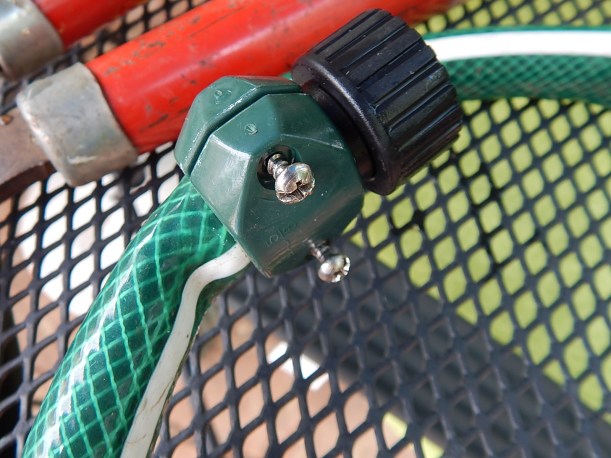 Step 2. Next, I remove the screws from the plastic clamp that keeps the hose end in place. Don’t lose the screws!
 The hardest part of the whole process is getting the repair kit hose connector out of the hose. I cut away at the outer sleeve of the hose, expose the rubber hose and cut that away as well.If you’re not reusing a repair kit, ignore this step and go strait to step 3.
 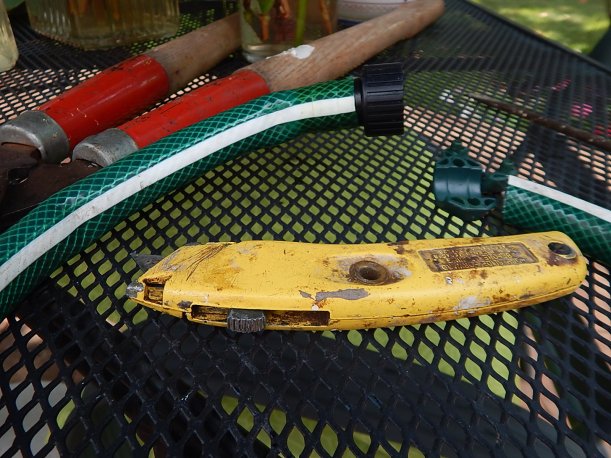 I use my trusty utility knife to do the cutting. Be careful and wear gloves so as not to inadvertently cut your hand.
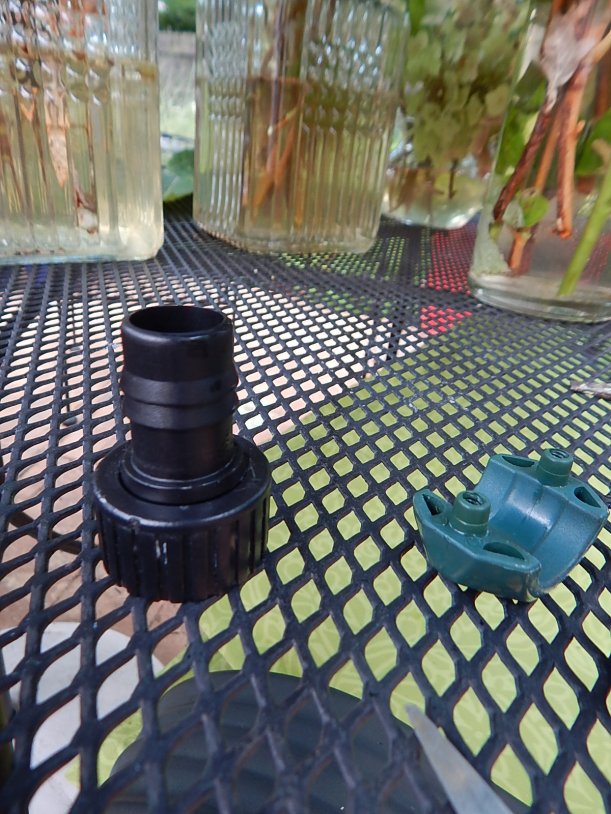 Step 3. Next, I pop off the hose connector and I’m ready to begin the repair, which will take no more than 2 or 3 minutes.
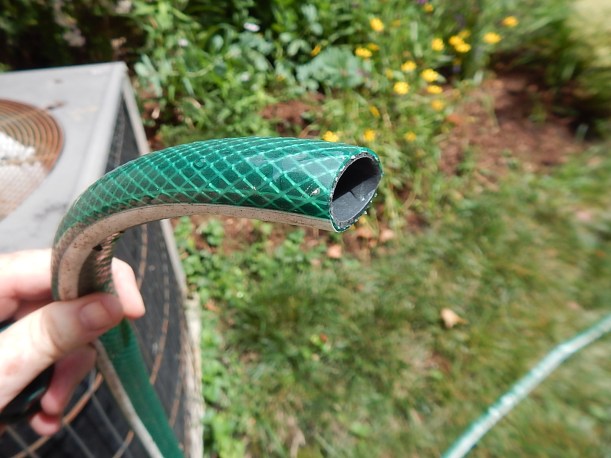 Step 4. Take the small end of the black plastic connector, push it into the hose and screw the clamp back on. Word to the wise, make sure you have the screws turned tight.
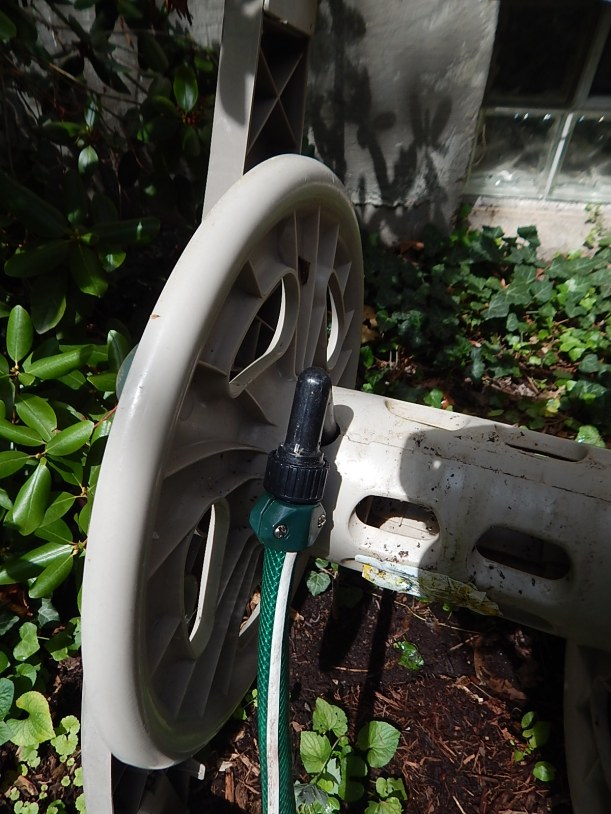 Step 5. Reattach the hose.
  Step 6. Voila! Back in business.
