
 There’s nothing more annoying than when the hose springs a leak. Of all the many things I want to spend my garden bucks on, hoses fall to the bottom of the list. The last thing I want to do is go buy a new one. Fortunately, they are easy and inexpensive to fix. Before you get started, know if you need a male or female connector. You don’t want to have to make more than one trip to the hardware store.
Here’s a step-by-step of the process: Step 1. Cut off the affected area. You can see that this hose has already been repaired once. In the spirit of recycling, I reused it when the hose sprung another leak. I use my lopers to easily cut through the hose.
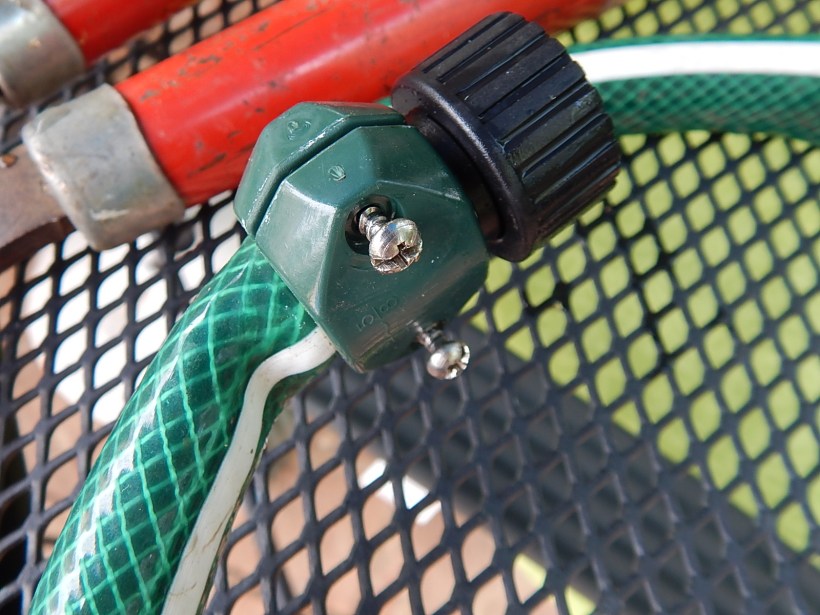 Step 2. Next, I remove the screws from the plastic clamp that keeps the hose end in place. Don’t lose the screws!
 The hardest part of the whole process is getting the repair kit hose connector out of the hose. I cut away at the outer sleeve of the hose, expose the rubber hose and cut that away as well.If you’re not reusing a repair kit, ignore this step and go strait to step 3.
 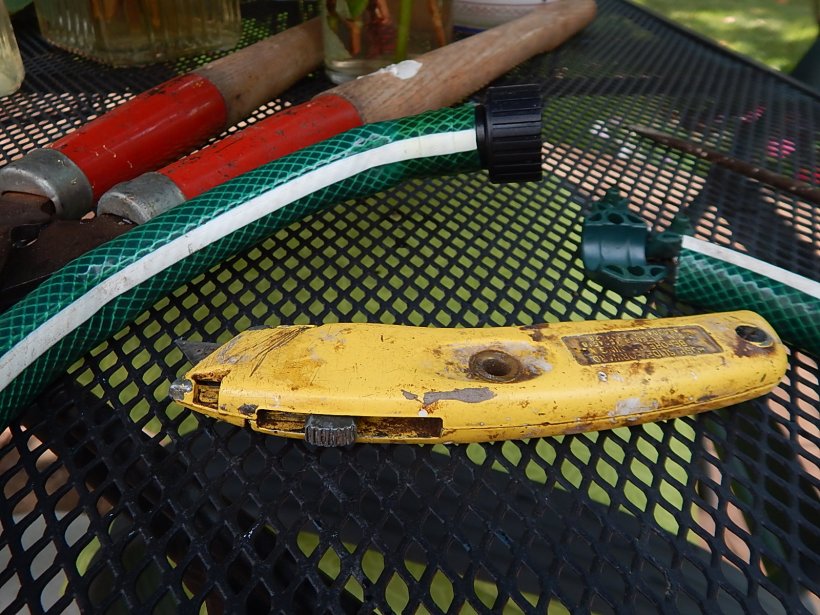 I use my trusty utility knife to do the cutting. Be careful and wear gloves so as not to inadvertently cut your hand.
 Step 3. Next, I pop off the hose connector and I’m ready to begin the repair, which will take no more than 2 or 3 minutes.
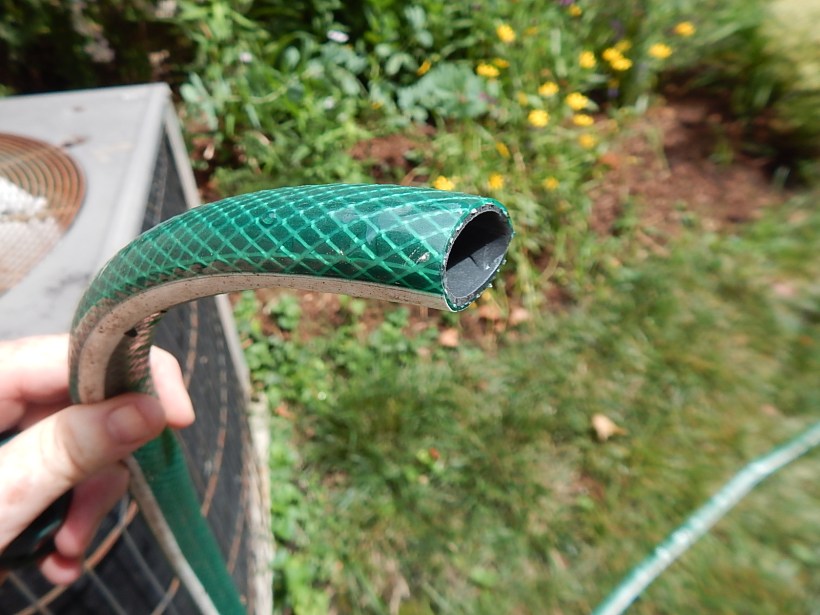 Step 4. Take the small end of the black plastic connector, push it into the hose and screw the clamp back on. Word to the wise, make sure you have the screws turned tight.
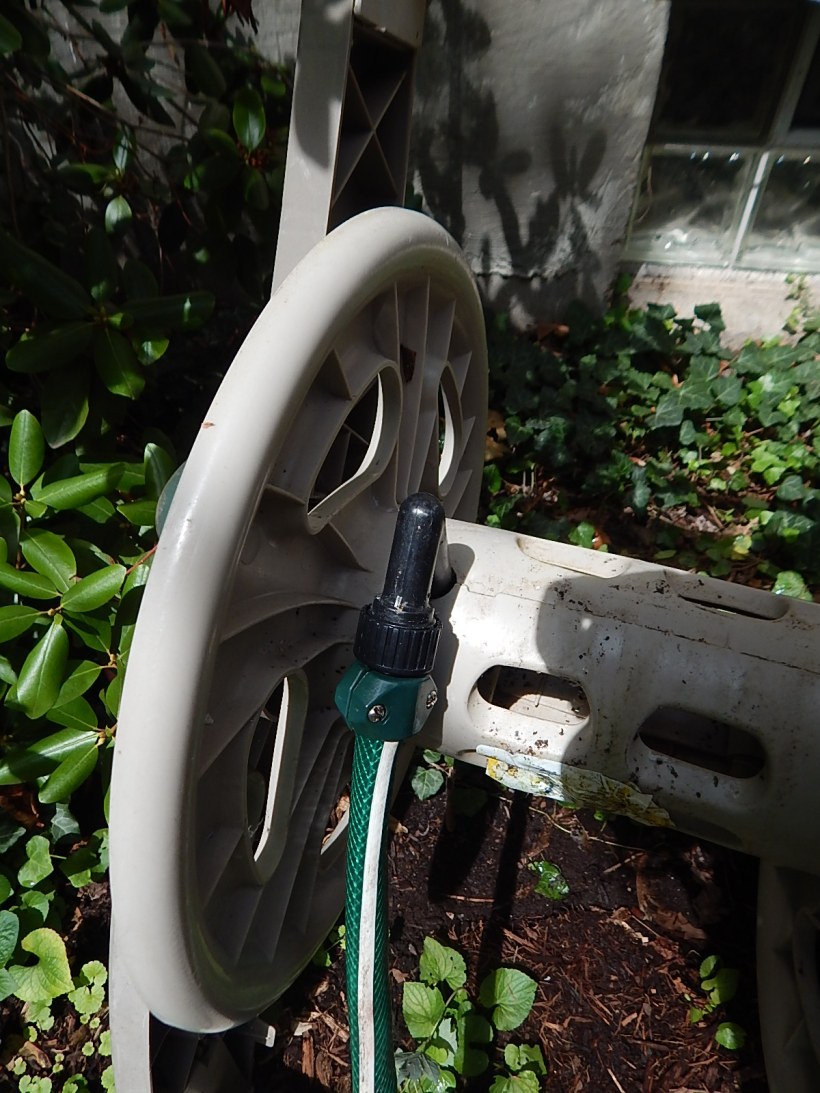 Step 5. Reattach the hose.
  Step 6. Voila! Back in business.
