


 Hostas have so many of the elements I look for in a plant. Easy to care for. Can be divided. Comes in lots of varieties, both big and small. But truth be told, I’ve not always been a big fan of them–even though they have been in every garden I have planted. You’d be hard pressed to find St. Louis garden that doesn’t incorporate hostas into its design. These are workhorse plants in this part of the Midwest and they go well in many applications.
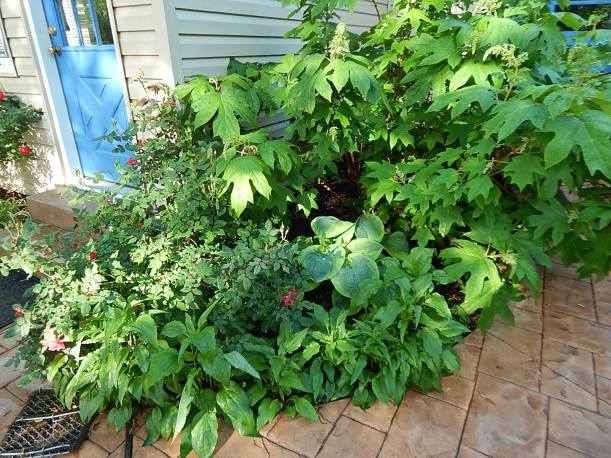 My fondness for hostas is growing. This plant is an essential element to my shade garden and I enjoy looking at them every day. I love the hosta in the photo above (taken in May) but will probably move it next year. Even though it is encased by the oakleave hydrangea, which filters the sunlight, it gets too much sun and by July it looks like its about to burn up. There are “sun loving” hostas but don’t be fooled, this is plant really a shade lover.
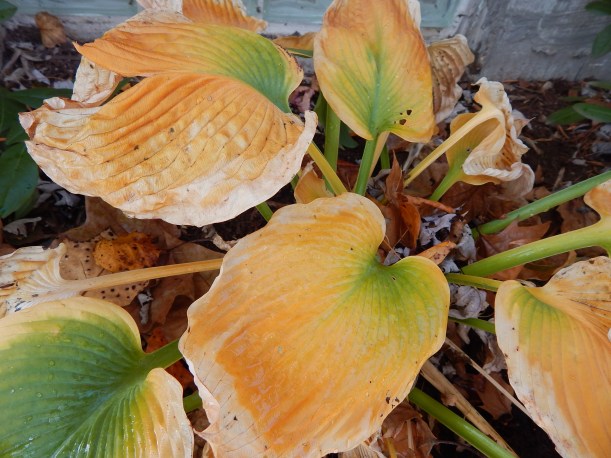
Too much sun? Not enough water? Both I’m afraid. I got wise and moved any hosta in this area and, yes, upped the water.
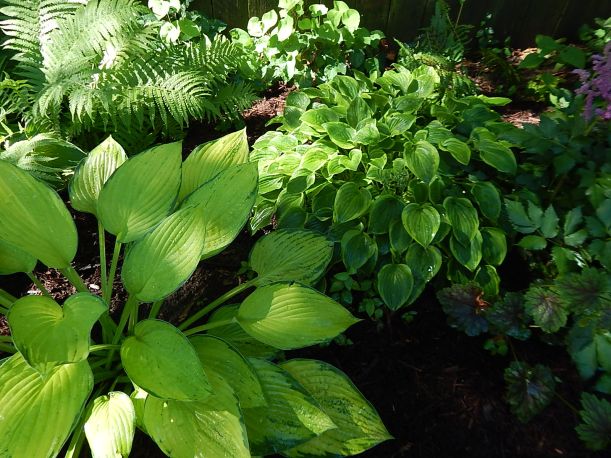
So why the growing affection for this hardy perennial? As they say in real estate parlance: Location, location, location. That’s right, I think I have finally found the right spot for them. And, I like the mix of perennials they’re planted with. Shape and texture, the keys to any garden, really stand out in a shade garden. Some have larger leaves than others and they are mingling in the bed with the tall, delicate shapes of fern, deeped lobed leaves of heuchera, spikey and brightly colored Japanese forest grass and the serrated leaves of astilbe, whose plume is to die for.
The blue hue of “Frances Williams” (center left) stands out against all the other green in the garden bed. This variety is a welcome contrast to the bright green Japanese forest grass (hakonechloa).
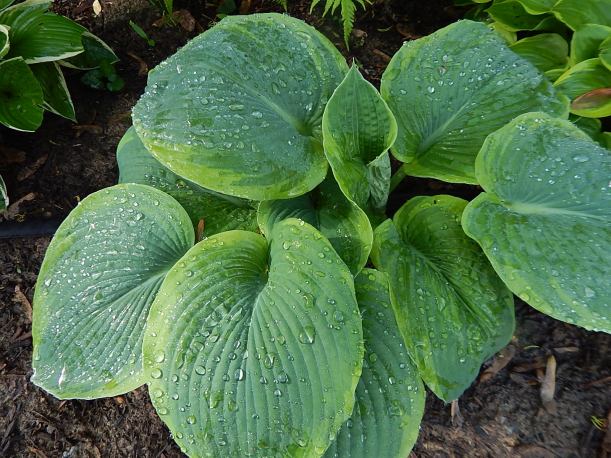
Hostas like water and Frances Williams is no exception.Its leaves become wider as it matures.
Moisture is another important consideration when placing hostas. I have learned the hard way that they do not do well in dry shade. Mine are mostly planted in a bed with a bunch of other moisture lovers, mainly fern and astilbe. They also like slightly acidic soil which is in abundance in my garden.
Hosta’s flower is nothing to speak of so its appeal is its foliage. I’ve planted hostas whose foliage have a spectrum of hues from citron with greenish/blue streaking to blue with creamy yellow edging and deeper green with white edging.
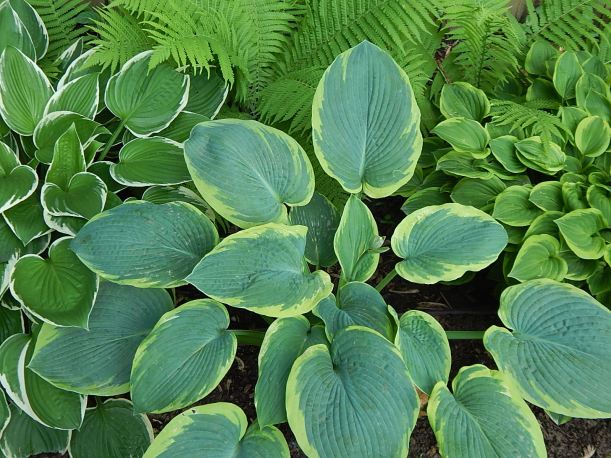
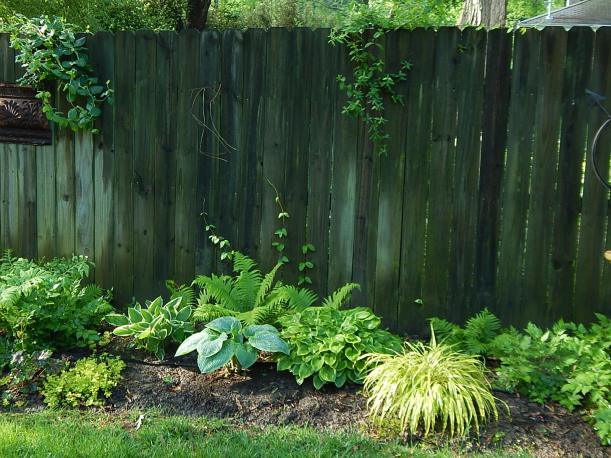
I’d like to share with you the names of the hosta varieties I have in the yard, but I don’t know them. Many of the plants in my garden are from the local area garden club sales, friends gardens, or were in the yard when I moved in, and they didn’t come with a tag describing their variety. Because they grow so well in our USDA Zone 6a climate, I am a big fan of dividing hostas and placing them throughout the garden beds.
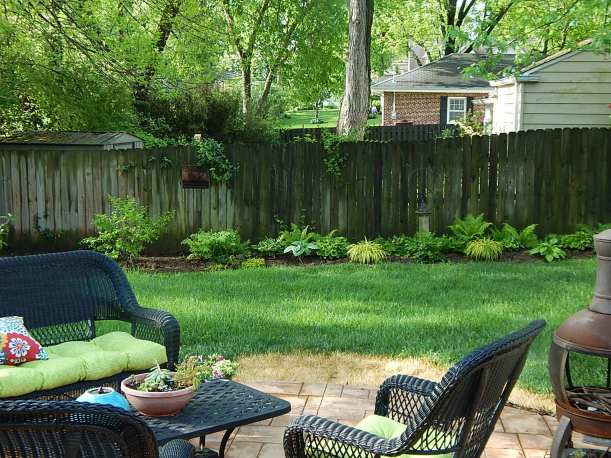
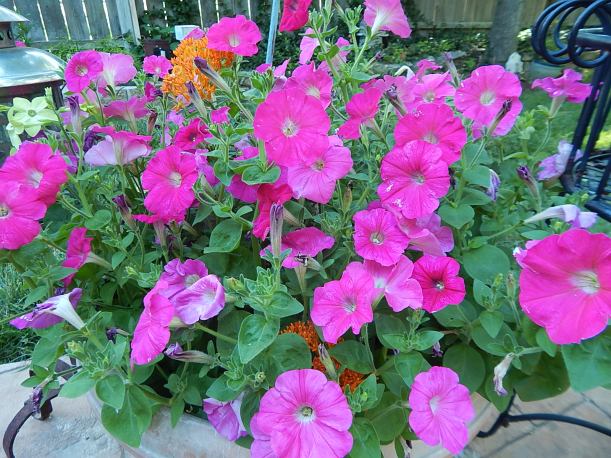
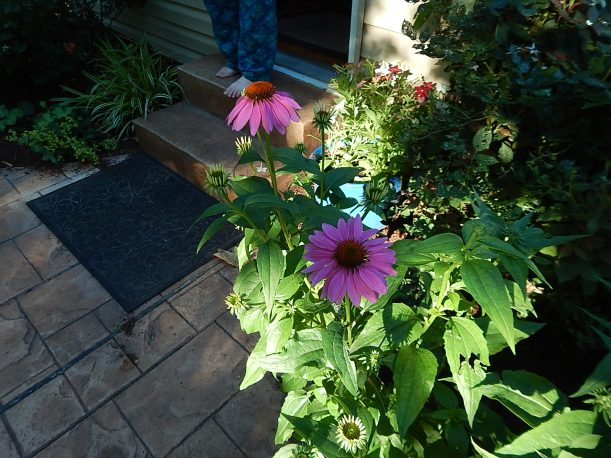
Surrounded by flowers in garden beds edging the patio, the cool shade bed is a welcome sight.
 There’s nothing more annoying than when the hose springs a leak. Of all the many things I want to spend my garden bucks on, hoses fall to the bottom of the list. The last thing I want to do is go buy a new one. Fortunately, they are easy and inexpensive to fix. Before you get started, know if you need a male or female connector. You don’t want to have to make more than one trip to the hardware store.
Here’s a step-by-step of the process: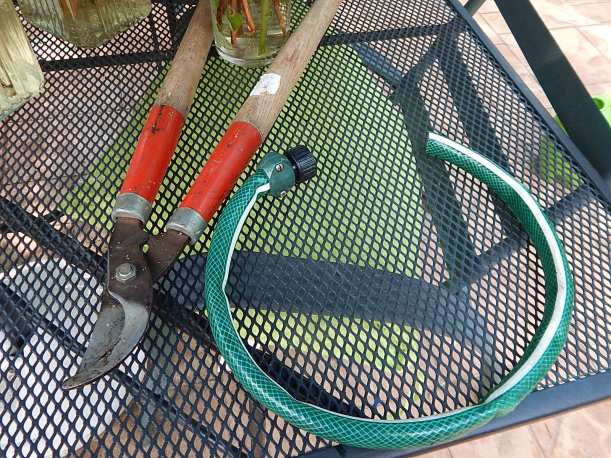 Step 1. Cut off the affected area. You can see that this hose has already been repaired once. In the spirit of recycling, I reused it when the hose sprung another leak. I use my lopers to easily cut through the hose.
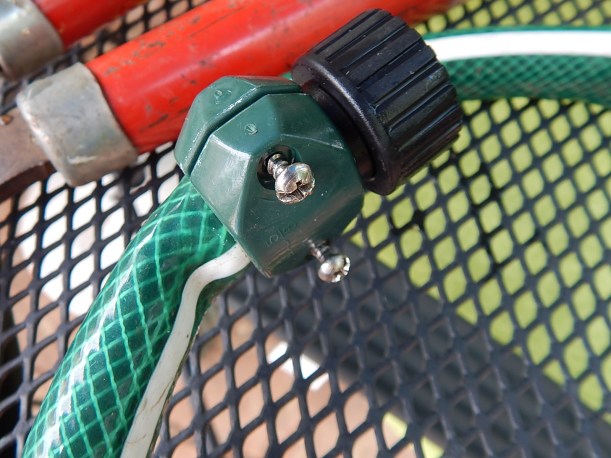 Step 2. Next, I remove the screws from the plastic clamp that keeps the hose end in place. Don’t lose the screws!
 The hardest part of the whole process is getting the repair kit hose connector out of the hose. I cut away at the outer sleeve of the hose, expose the rubber hose and cut that away as well.If you’re not reusing a repair kit, ignore this step and go strait to step 3.
 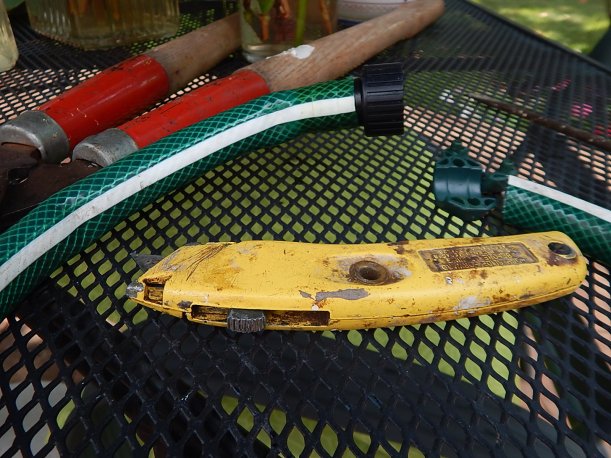 I use my trusty utility knife to do the cutting. Be careful and wear gloves so as not to inadvertently cut your hand.
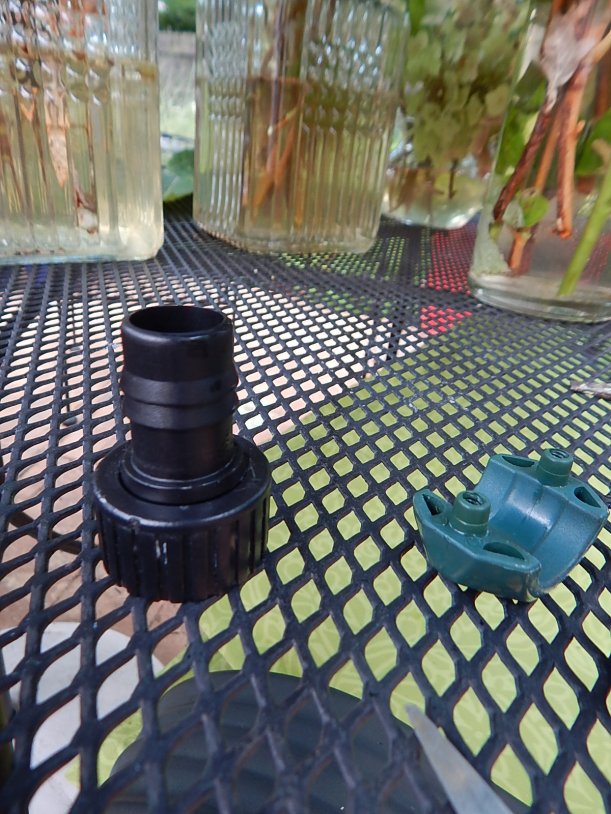 Step 3. Next, I pop off the hose connector and I’m ready to begin the repair, which will take no more than 2 or 3 minutes.
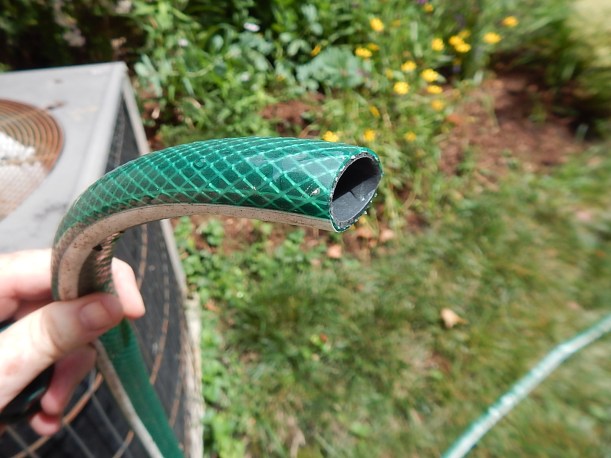 Step 4. Take the small end of the black plastic connector, push it into the hose and screw the clamp back on. Word to the wise, make sure you have the screws turned tight.
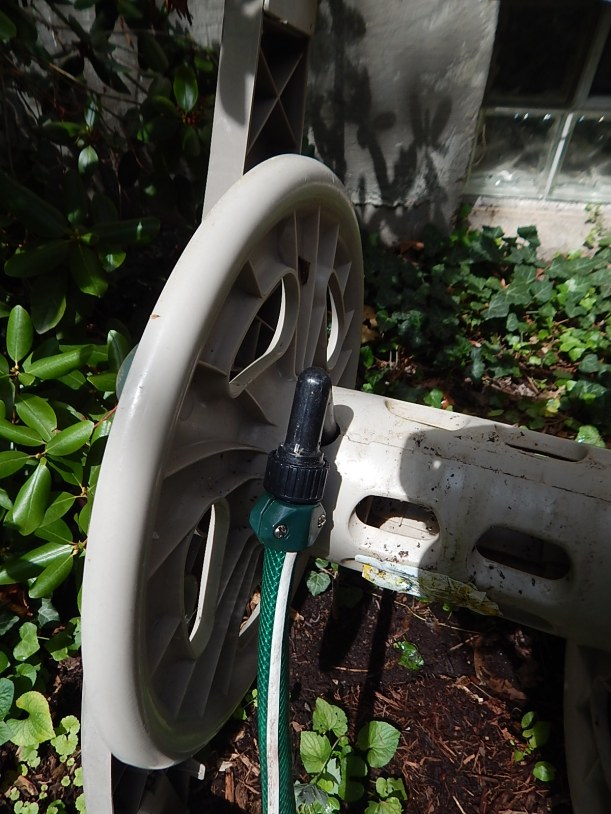 Step 5. Reattach the hose.
  Step 6. Voila! Back in business.

Advice and Tips on How to Garden
Our garden, gardens visited, occasional thoughts and book reviews
Horticulturist, Arborist and Garden Columnist
Thoughts about life, creating, and gardening....
Musings about gardening, the natural world and things creative.
Learning life's lessons in the garden!
the great outdoors, wellbeing and life in the North
Journeys In St. Louis Gardening and Beyond
America's Favorite Rose Gardener
A region, a garden, a frame of mind...
"How quickly comes the sun when first it sets its mind to rise." - - j. s. v.
tales from deep in my soil
Cariboo-Grown & Cariboo-Hardy Perennials. Since 1991.
A Gardening Blog. Mostly
.....and nurturing my soul
