
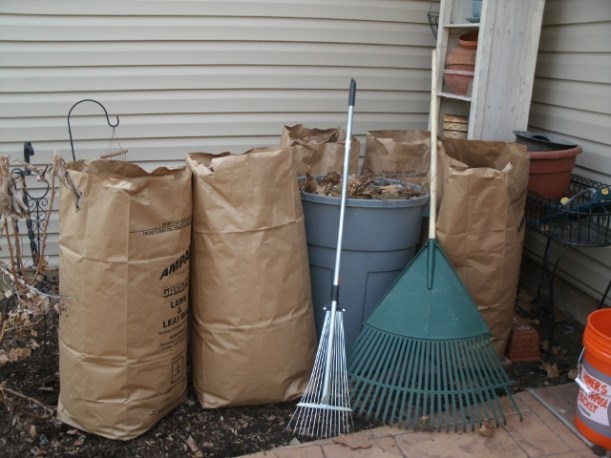
 As winter finally gives way to spring, it was a perfect day in Arch City to finish the garden and yard clean up.
Making a garden bed in St. Louis requires one to dig in hard, dense, clay soil. Not really my idea of a good time, if you know what I mean. (And if you have clay soil you know what I’m talking about.) In fact, the idea of digging up the lawn on a large space running the length of the patio, left me less than motivated. As I have shared, when I began my adventure in backyard gardening, I was not one to really enjoy getting dirt beneath my nails, much less the back pain associated with lots of digging. I wanted quick gratification so I could enjoy my chardonnay while basking at the delights of my hard work.
I know, I know, as the saying goes, no pain, no gain. I am learning.

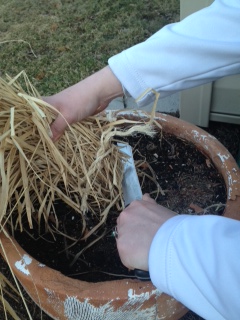
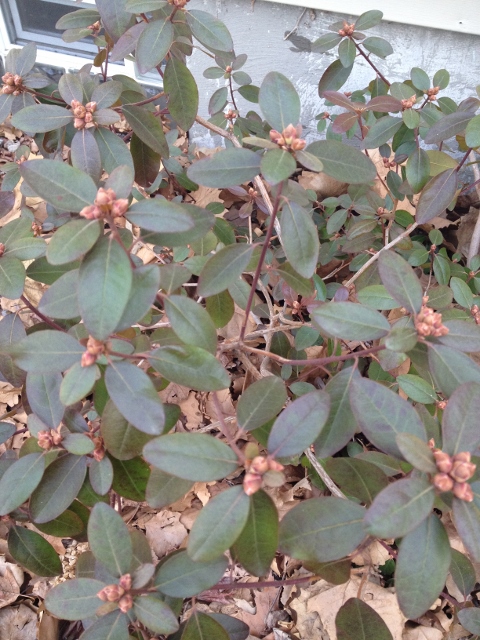
Installing a Japanese maple.
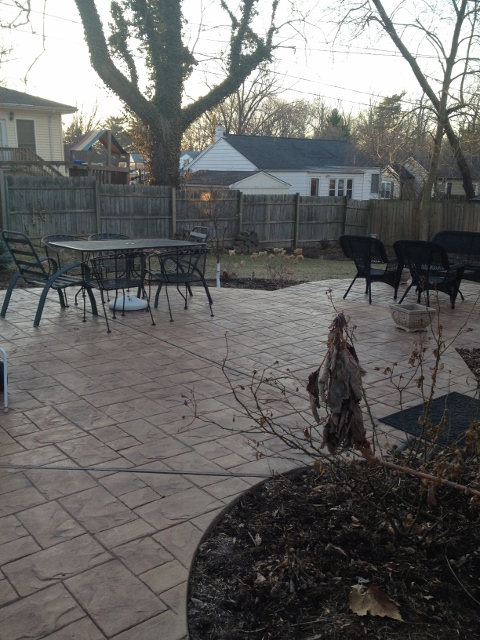
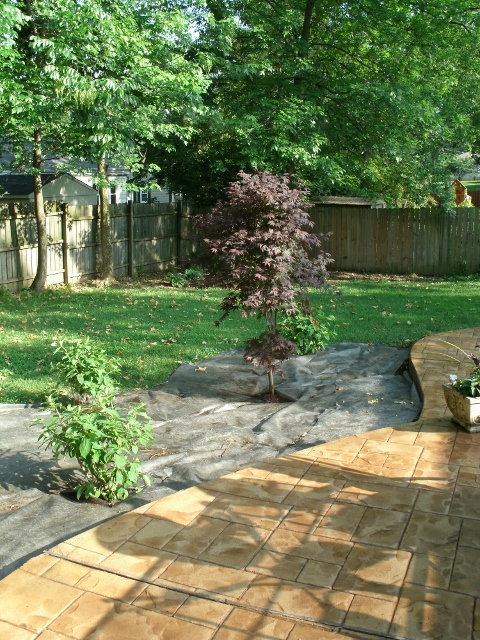
But I did look for a shortcut … in the form of landscape fabric. I simply covered the space in the stuff, cut into the areas where I placed my foundation plants, amended the soil where plants were put in and covered the whole thing with lots of mulch.
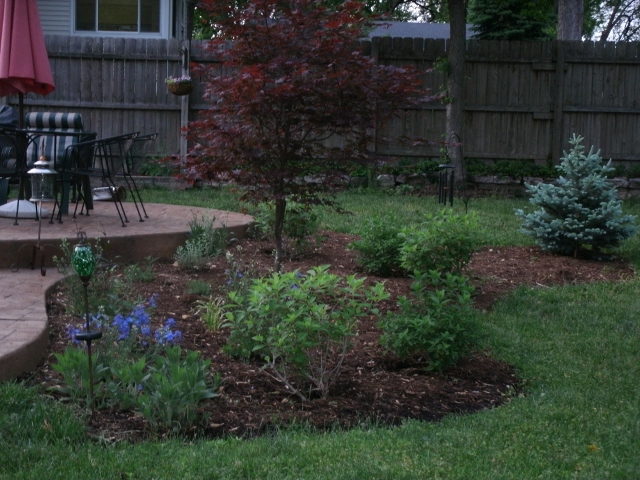
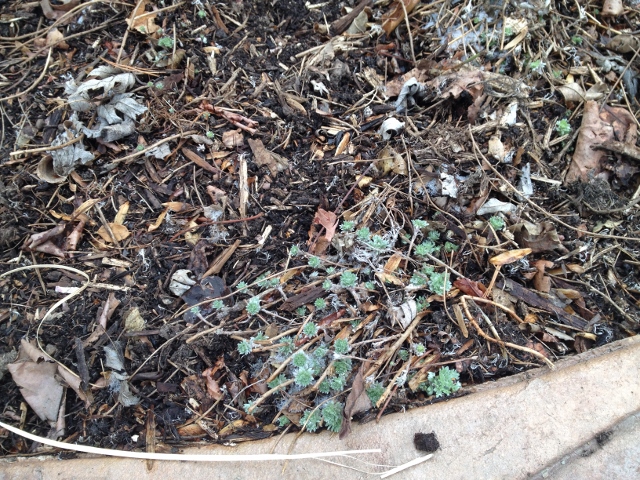
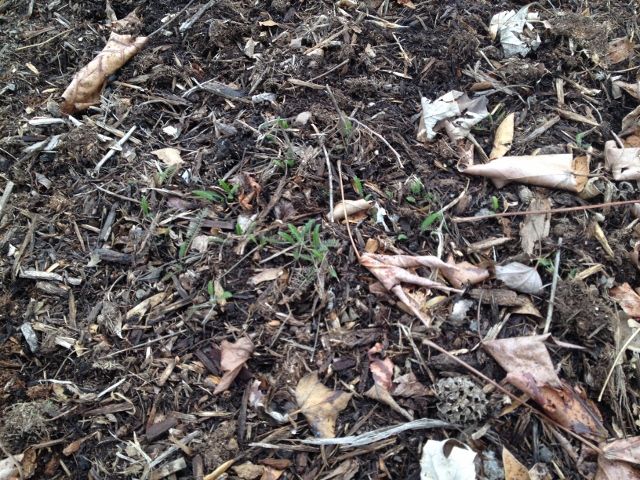
The bed is doing beautifully. This photo was taken last summer, the second season the garden was in place. I continue to add to it each year.
I am not sure I would take that shortcut again. Yes, the garden bed is doing beautifully, but I am weighing my options as I consider installing more gardens into the yard.
The pros: I have had very few weeds; it was easy to install; it saved my back the aches and pains of all that digging; I avoided using chemical application to kill the grass, which I was contemplating. And, the bed is doing beautifully. Each year I add to it with the vision of a cottage garden spilling forth with flowering plants and shrubs. I hand weed, mulch and this spring amended the soil with a bit of compost.
The cons: I don’t think I have done my soiI any great favors (should have probably put a hefty layer of compost down along the whole bed–rookie mistake peppered with a healthy dose of inpatience); every time I add to the bed, I am having to cut into the fabric and then dig into the hard, hard clay; my senses are awakening to the concept of “sustainability” and I am not sure these types of fabrics are a good idea. Also, I wonder if the fabric will inhibit growth of the plant. Does anyone have any knowledge of that?
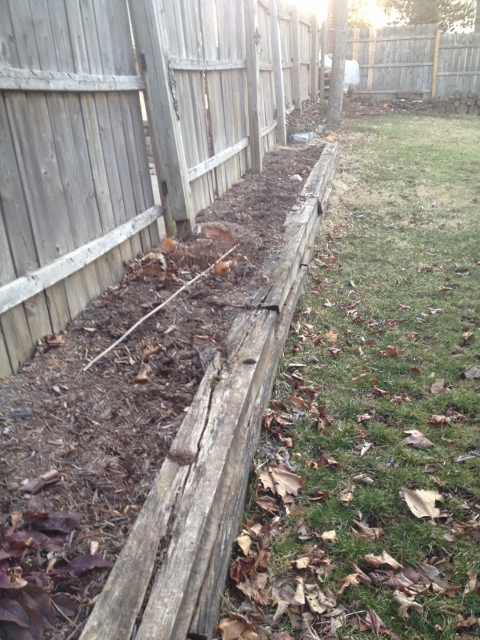
I will be getting out the ibuprofen as I plan to start on a bed along one of the fence lines this spring and will avoid some of the shortcuts I took. What’s your take on landscape fabric? Any advice on starting a garden bed from scratch?


